Setting up a private VPN network using your home Wi-Fi can be a great way to secure your internet connection, bypass geo-restrictions, and access your home network remotely. Here’s a detailed guide to help you get started.
Why Set Up a Private VPN?
Before we dive into the how-to, let’s understand why you might want to do this:
- Security: Encrypts your internet traffic, protecting your data from snoopers, especially on public Wi-Fi.
- Privacy: Masks your IP address, making your online activities harder to trace.
- Remote Access: Securely access files and devices on your home network from anywhere in the world.
- Geo-unblocking: Bypass regional restrictions on streaming services and websites.
What You’ll Need
- A Router with VPN Server Capabilities: This is crucial. Many modern routers come with built-in VPN server functionality (e.g., OpenVPN, PPTP, L2TP/IPsec). Check your router’s specifications or manual. If your router doesn’t support it, you might consider flashing it with custom firmware like DD-WRT or OpenWrt, or buying a new router.
- A Device to Act as a VPN Server (Optional but Recommended): If your router lacks VPN capabilities or you want more control, you can use a dedicated device like a Raspberry Pi, an old computer, or a NAS (Network Attached Storage) to run VPN server software.
- A Static IP Address or Dynamic DNS (DDNS) Service: Your home IP address can change. A static IP ensures it never changes, while DDNS keeps a domain name (like
myhomevpn.ddns.net) updated with your dynamic IP. Most routers and NAS devices support DDNS services. - A Computer or Mobile Device for Client Setup: To connect to your new VPN.
Step-by-Step Guide
Method 1: Using Your Router’s Built-in VPN Server
This is the simplest method if your router supports it.
Step 1: Access Your Router’s Administration Interface Open a web browser and type your router’s IP address (e.g., 192.168.1.1 or 192.168.0.1). Log in with your administrator credentials.
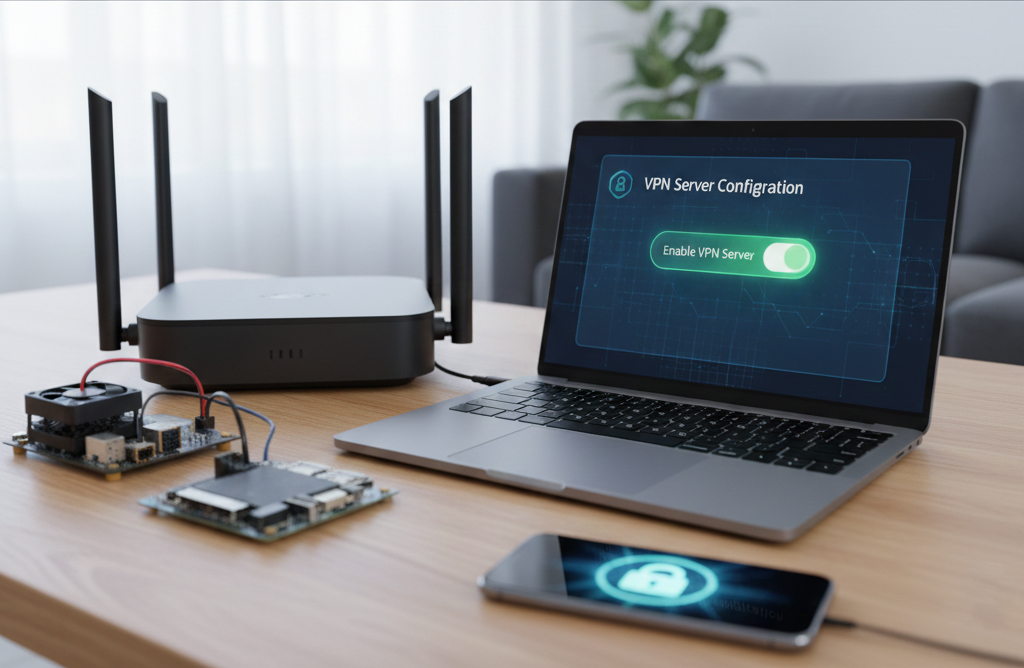
Step 2: Enable the VPN Server Navigate to the “VPN” or “VPN Server” section in your router’s settings. You’ll typically find options for different VPN protocols like OpenVPN, PPTP, or L2TP/IPsec. OpenVPN is generally recommended for its balance of security and performance. Enable the VPN server feature.
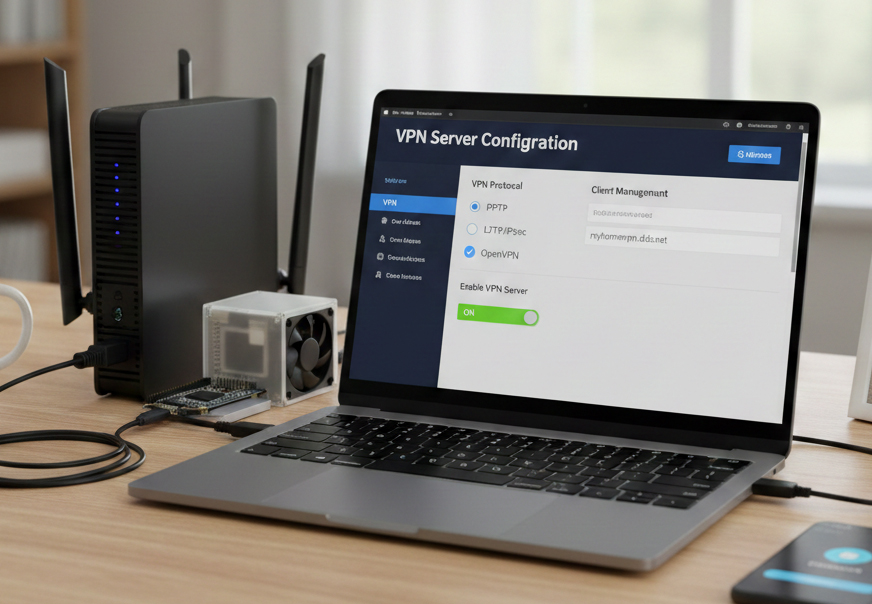
Step 3: Configure VPN Settings
- Create Users: Set up usernames and passwords for devices that will connect to your VPN.
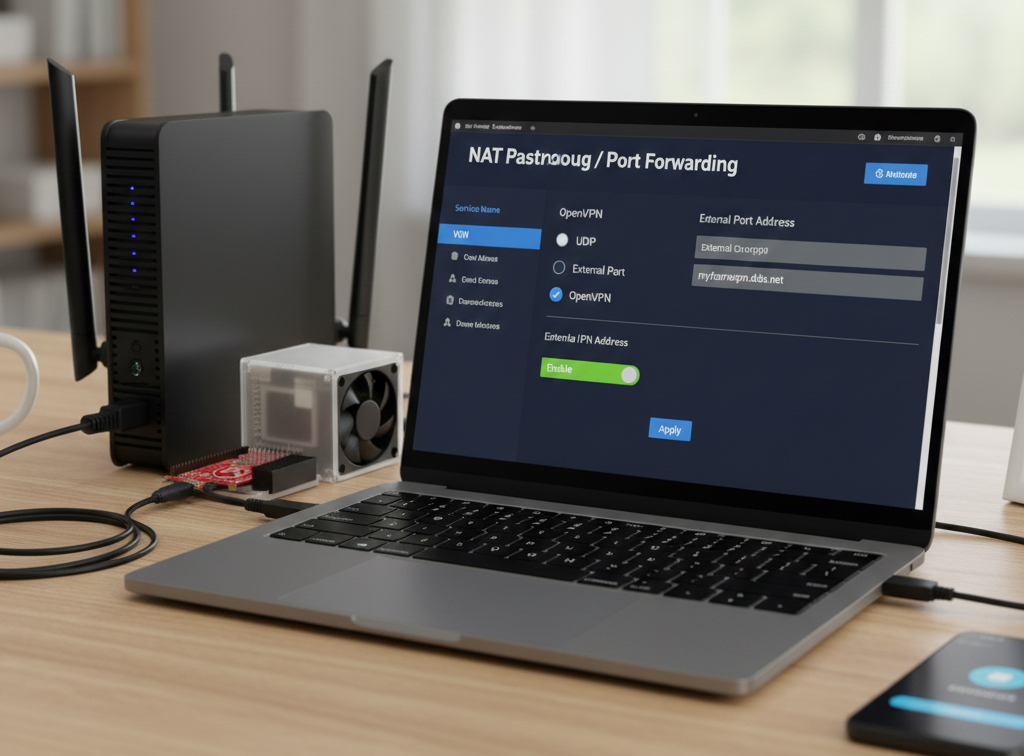
- Port Forwarding (if necessary): Some routers might automatically configure port forwarding for the VPN. If not, you’ll need to manually forward the VPN port (e.g., UDP 1194 for OpenVPN) to your router’s internal IP address.
- Dynamic DNS: If you have a dynamic IP, configure a DDNS service. Many routers have built-in support for services like No-IP, DynDNS, or ASUS DDNS.
Step 4: Export VPN Client Configuration Your router should provide an option to download a client configuration file (often a .ovpn file for OpenVPN). This file contains all the necessary settings for your client devices.
Step 5: Set Up VPN Client Software
- OpenVPN: Download and install the OpenVPN client software for your operating system (Windows, macOS, Linux) or mobile device (Android, iOS).
- Import Configuration: Import the
.ovpnfile you downloaded from your router into the OpenVPN client. - Connect: Enter your VPN username and password when prompted, and connect to your home VPN.
Method 2: Using a Dedicated Device (e.g., Raspberry Pi with OpenVPN)
This method offers more flexibility and control. We’ll use OpenVPN as an example.
Step 1: Prepare Your Dedicated Device Install a lightweight operating system (like Raspberry Pi OS for a Raspberry Pi) and ensure it has network connectivity. Update your system: sudo apt update && sudo apt upgrade
Step 2: Install OpenVPN Server There are many excellent scripts available to simplify OpenVPN installation. PiVPN is a popular choice for Raspberry Pi. curl -L https://install.pivpn.io | bash Follow the on-screen prompts during installation. You’ll be asked to choose a VPN protocol (OpenVPN or WireGuard), server IP, port, and DNS provider.
Step 3: Configure Port Forwarding Access your main router’s administration interface. Navigate to the “Port Forwarding” or “NAT” section. Create a new rule to forward the VPN port (e.g., UDP 1194 for OpenVPN) from your router’s external IP to the internal IP address of your dedicated VPN server (e.g., Raspberry Pi).
Step 4: Set Up Dynamic DNS (if needed) If you have a dynamic IP address, configure a DDNS service. You can set this up on your router or directly on your dedicated VPN server.
Step 5: Generate Client Configuration Files On your dedicated VPN server, use the VPN software’s tools to generate client configuration files. For PiVPN, you can use: pivpn add (to create a new user and generate a .ovpn file) You can then transfer these .ovpn files to your client devices using SCP, SFTP, or a USB drive.
Step 6: Set Up VPN Client Software Follow the same steps as Method 1 for importing the .ovpn file into your OpenVPN client and connecting.
Testing Your VPN Connection
Once you’ve set up your client:
- Disconnect from your home Wi-Fi. Use mobile data or another Wi-Fi network.
- Connect to your new VPN using the client software.
- Check Your IP Address: Go to a “what is my IP” website (e.g.,
whatismyip.com). If successful, it should show your home IP address. - Access Home Resources: Try accessing a device or file on your home network to confirm remote access.
Important Security Considerations
- Strong Passwords: Use strong, unique passwords for your router, VPN server, and VPN users.
- Keep Software Updated: Regularly update your router firmware and VPN server software to patch security vulnerabilities.
- Limit User Access: Only create VPN users for trusted individuals and devices.
- Monitor Logs: Periodically check your router and VPN server logs for any suspicious activity.
- Disable Unused Protocols: If your router supports multiple VPN protocols, only enable the ones you intend to use (preferably OpenVPN or WireGuard).
Troubleshooting Tips
- Double-check IP Addresses and Ports: Ensure all IP addresses and port numbers are correct in your router’s port forwarding and VPN server settings.
- Firewall: Make sure your router’s firewall isn’t blocking VPN traffic.
- ISP Restrictions: Some ISPs block common VPN ports. You might need to try a different port if you suspect this is the case.
- Logs: Review the logs on both your VPN server and client for error messages.
Setting up a private VPN can take a bit of technical know-how, but the benefits in terms of security, privacy, and remote access are well worth the effort. Enjoy your secure, private network!
