In an age where data privacy and control are increasingly important, relying solely on commercial cloud storage can feel a bit… exposed. What if you could have all the convenience of cloud storage with the added security and privacy of keeping your data on your own terms? Enter the humble, yet mighty, Raspberry Pi.
This tiny, affordable computer is a fantastic platform for creating your very own home cloud storage solution. Imagine accessing your files from anywhere, sharing them securely with family, and knowing exactly where your data resides. This guide will walk you through the process, step by step.
What You’ll Need:
Before we dive in, let’s gather our ingredients:
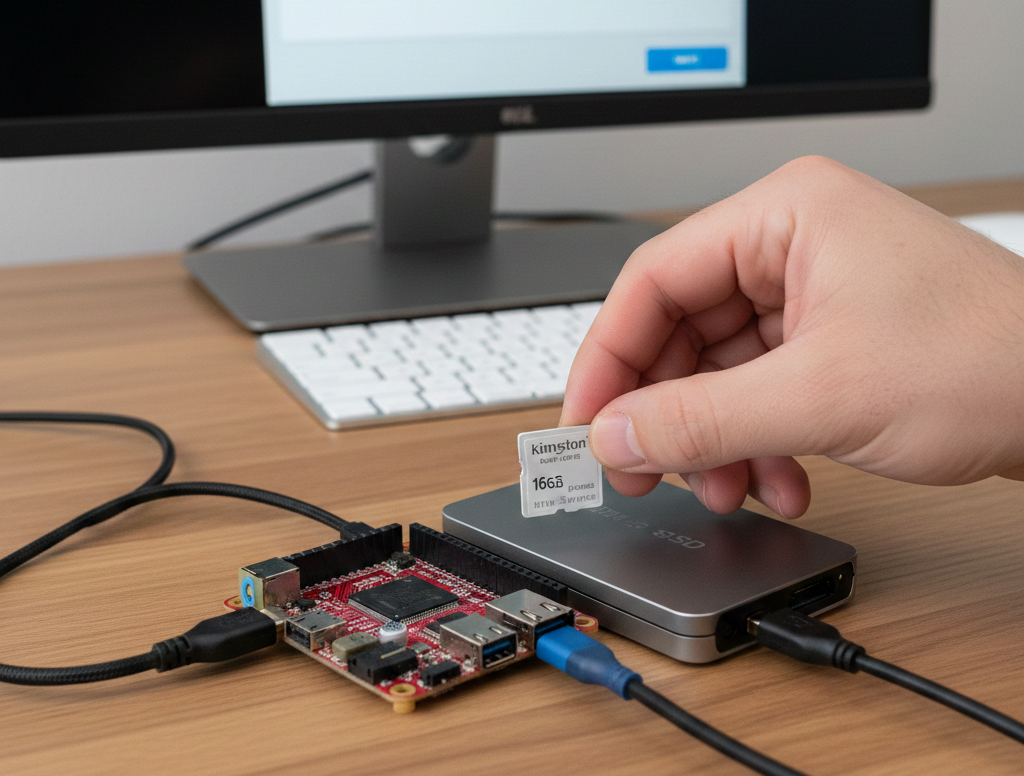
- Raspberry Pi (3B+, 4, or newer recommended): The heart of our cloud.
- MicroSD Card (16GB or larger): For the operating system.
- External USB Hard Drive (HDD or SSD): This is where your actual data will live. Choose a size based on your storage needs.
- Power Supply for Raspberry Pi: A good quality one is crucial for stability.
- Ethernet Cable (recommended for initial setup): For reliable network connection.
- USB Keyboard and Mouse (for initial setup, optional if using SSH):
- Monitor with HDMI input (for initial setup, optional if using SSH):
Step 1: Prepare Your Raspberry Pi
First, we need to get the Raspberry Pi up and running with an operating system. Raspberry Pi OS (formerly Raspbian) is the most common choice.
- Download Raspberry Pi Imager: Go to the official Raspberry Pi website and download the Imager software for your computer.
- Flash Raspberry Pi OS: Insert your MicroSD card into your computer. Open Raspberry Pi Imager, select “Choose OS” (Raspberry Pi OS (64-bit) is a good choice), and then “Choose Storage” to select your MicroSD card. Click “Write.”
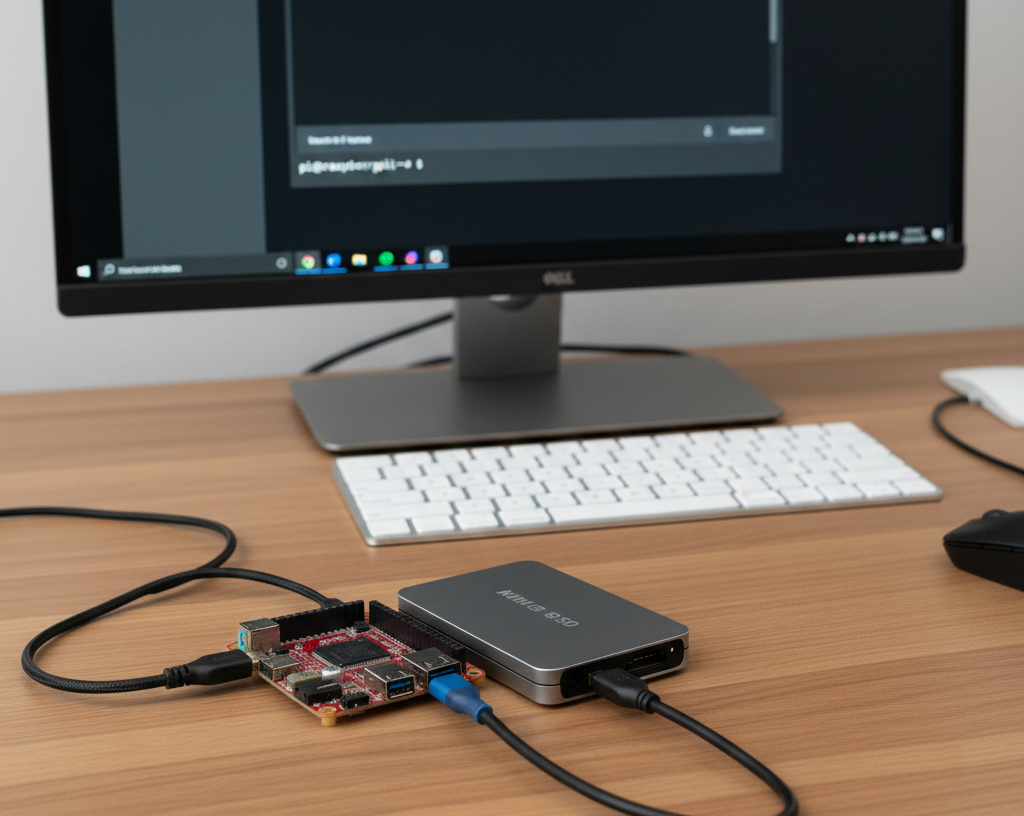
- Initial Boot and Configuration: Once written, insert the MicroSD card into your Raspberry Pi, connect your monitor, keyboard, mouse, and power supply. Boot it up. Follow the on-screen prompts to set your country, language, time zone, and create a new password for the
piuser.Pro Tip: Enable SSH (Secure Shell) in the Raspberry Pi Configuration menu (under “Interfaces”). This allows you to remotely control your Pi without needing a monitor and keyboard, which is super convenient for a server.
Step 2: Prepare Your External Hard Drive
Now, let’s get your external hard drive ready to store data.
- Connect the Hard Drive: Plug your external USB hard drive into one of the Raspberry Pi’s USB ports. If your drive requires external power, make sure it’s plugged in.
- Identify the Drive: Open a terminal on your Raspberry Pi (or connect via SSH) and type:Bash
lsblkYou’ll see a list of connected storage devices. Look for your external drive, it will likely be something like/dev/sdaor/dev/sdb. Pay attention to the size to confirm it’s your drive. - Format the Drive (Optional but Recommended): For optimal performance and compatibility, it’s best to format the drive to a Linux-friendly filesystem like ext4. BE CAREFUL – THIS WILL ERASE ALL DATA ON THE DRIVE!Assuming your drive is
/dev/sda, you would partition it first:Bashsudo fdisk /dev/sda # Type 'd' to delete existing partitions (if any) # Type 'n' to create a new partition # Type 'p' for primary, then accept defaults # Type 'w' to write changes and exitNow, format the partition (e.g.,/dev/sda1):Bashsudo mkfs.ext4 /dev/sda1 - Create a Mount Point: This is where your hard drive will be accessible on the file system.Bash
sudo mkdir /mnt/clouddata - Mount the Drive:Bash
sudo mount /dev/sda1 /mnt/clouddata - Configure Automatic Mounting: To ensure the drive is mounted every time your Pi boots, edit the
fstabfile.Bashsudo nano /etc/fstabAdd the following line to the end of the file (replace/dev/sda1if your drive is different):/dev/sda1 /mnt/clouddata ext4 defaults,nofail 0 0Save and exit (Ctrl+X, thenY, thenEnter).
Step 3: Install Nextcloud
Nextcloud is a powerful open-source suite that provides a self-hosted cloud platform, complete with file syncing, sharing, calendar, contacts, and more.
There are several ways to install Nextcloud on a Raspberry Pi. We’ll use the recommended Snap package for simplicity and automatic updates.
- Update and Upgrade: Always a good practice before installing new software.Bash
sudo apt update sudo apt upgrade -y - Install Snapd:Bash
sudo apt install snapd -y - Install Nextcloud Snap:Bash
sudo snap install nextcloudThis will download and install Nextcloud and all its dependencies. This might take a while.
Step 4: Configure Nextcloud for External Storage
By default, Nextcloud will store its data on the MicroSD card. We want it to use our external hard drive.
- Move Nextcloud Data Directory:Bash
sudo snap stop nextcloud sudo rsync -av /var/snap/nextcloud/common/nextcloud/data/ /mnt/clouddata/nextcloud_data/ sudo snap set nextcloud data-dir=/mnt/clouddata/nextcloud_data sudo snap start nextcloudThis sequence stops Nextcloud, copies its existing data to your external drive, tells Nextcloud to use the new location, and then restarts it.
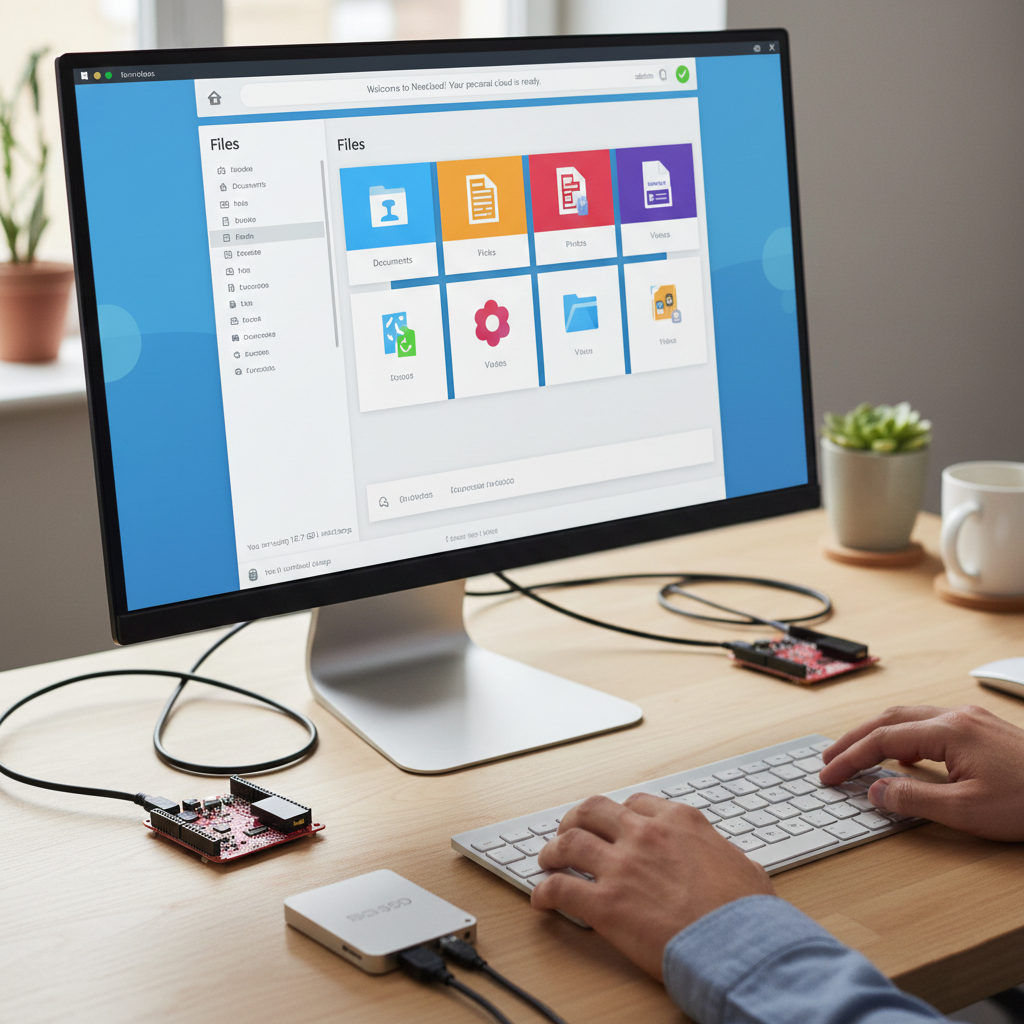
Step 5: Initial Nextcloud Setup
Now, you can access your Nextcloud instance from a web browser on your local network.
- Find Your Pi’s IP Address: In the Raspberry Pi terminal, type
hostname -I. - Access Nextcloud: Open a web browser on a computer connected to the same network as your Pi and navigate to
http://YOUR_PI_IP_ADDRESS. - Create Admin Account: You’ll be prompted to create an administrator account. Choose a strong username and password.
- Finish Setup: Click “Finish setup.” You should now be greeted by the Nextcloud interface!

Wrapping Up: Your Data, Your Rules
Setting up a home cloud storage system with a Raspberry Pi is more than just a fun weekend project; it’s a major step toward digital sovereignty. By moving away from big-tech platforms, you’ve gained a secure, private, and expandable space that grows with your needs.
While commercial services offer “free” tiers, they often come at the cost of your privacy or through mounting monthly subscription fees. With your new Pi-powered setup, you have:
- Zero Subscription Fees: You only pay for the hardware once.
- Total Privacy: Your photos, documents, and backups never leave your physical control.
- Customization: From adding media streaming (like Plex) to automated phone backups, the possibilities are endless.
Security Note
Remember that since you are now your own “Cloud Provider,” security is your responsibility. Make sure to change default passwords, keep your Raspberry Pi OS updated, and if you decide to access your files from outside your home network, consider setting up a VPN (like WireGuard) rather than just opening ports on your router.
Congratulations on taking back control of your data! You’ve turned a credit-card-sized computer into a powerhouse of productivity and privacy.
