We’ve all been there: you upgrade to a shiny new Wi-Fi router to get better speeds, and your trusty old router ends up gathering dust in a closet. Meanwhile, you’re still dealing with that one frustrating dead zone in your bedroom or garage where the new Wi-Fi just can’t seem to reach.
Instead of spending money on a brand-new Wi-Fi extender, you can actually upcycle that old router and turn it into a Wi-Fi repeater (or Access Point). It’s a fantastic way to save cash, reduce e-waste, and finally get a signal in the far corners of your home.
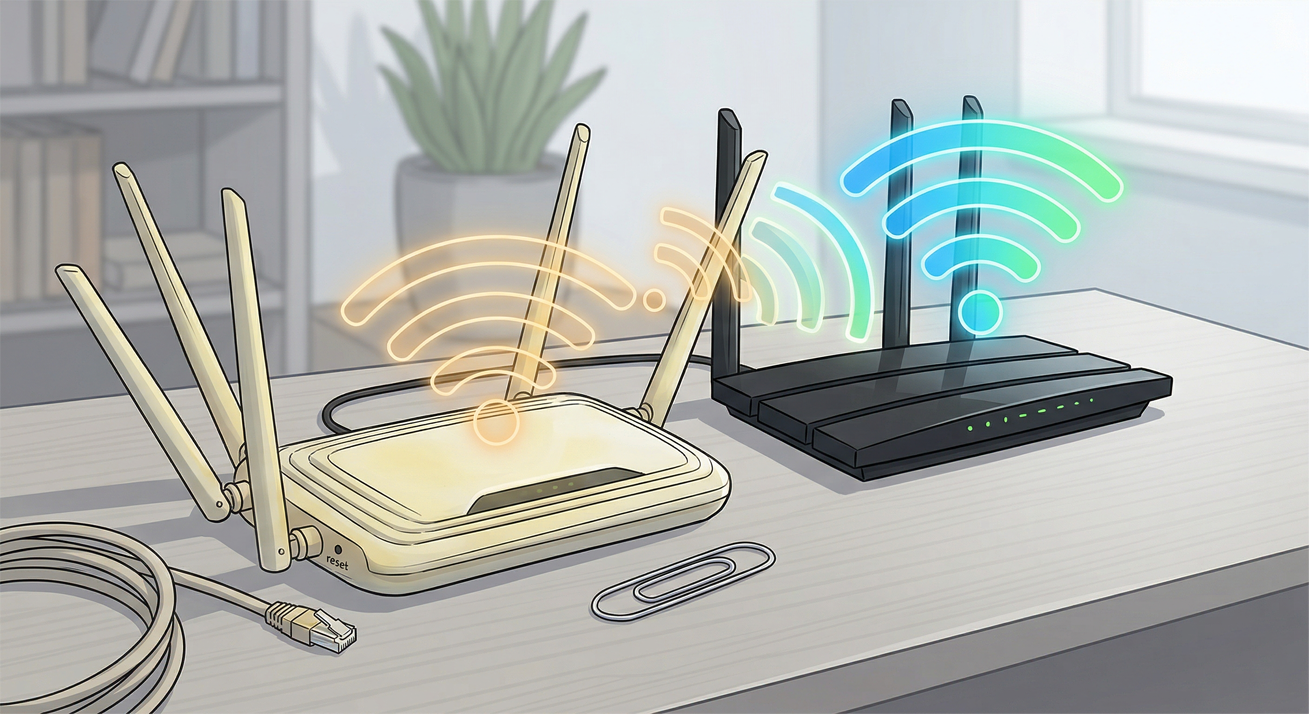
The old router connects to your main router wirelessly and rebroadcasts the signal. It’s convenient but can halve your internet speed on that extended network because the router has to talk to your devices and the main router simultaneously over the air.
Here is your step-by-step guide to breathing new life into your old tech.
What You Will Need:
- Your new, primary Wi-Fi router (connected to the internet).
- Your old Wi-Fi router.
- An Ethernet cable.
- A computer or laptop with an Ethernet port (or an adapter).
Step 1: Gather Your Main Router’s Info
Before touching the old router, you need to know a little bit about your current network.
- Connect to your current Wi-Fi.
- Find your primary router’s IP address (usually
192.168.1.1or192.168.0.1), Subnet Mask (usually255.255.255.0), and your Wi-Fi password. - Write these down. You’ll need them later to make sure the two routers can talk to each other.
Step 2: Reset the Old Router
We need a clean slate. Plug in your old router and find the physical “Reset” button on the back. It’s usually hidden inside a tiny pinhole.
- Use a paperclip to press and hold the button for about 10 to 30 seconds while the router is powered on.
- The lights should flash, letting you know it has been restored to its factory default settings.
Step 3: Connect and Log In
Now, let’s get inside the old router’s brain.
- Use the Ethernet cable to connect your computer directly to one of the LAN ports (usually numbered 1-4) on the back of the old router. Do not plug it into the WAN/Internet port.
- Open a web browser and type in the old router’s default IP address (check the sticker on the bottom of the router; it’s often
192.168.1.1). - Log in using the default username and password (also usually found on the sticker, frequently
adminandadminorpassword).
Step 4: Switch to Repeater/Bridge Mode (If Available)
Many modern-ish routers have a built-in setting that makes this incredibly easy.
- Poke around the settings (usually under Advanced, Wireless, or Network Mode) and look for an option called Repeater Mode, Wireless Bridge, or Access Point (AP) Mode.
- If you find it, select it! The router will usually walk you through a quick setup where you select your main Wi-Fi network and enter the password.
If your router doesn’t have this one-click feature, don’t worry. Move on to Step 5 to do it manually.
Step 5: Configure the Wireless Settings Manually
If you have to do this the manual way, navigate to the Wireless settings on your old router.
- Network Name (SSID): Change this to match your main router exactly, or give it a new name like YourNetwork_EXT so you know which one you are connecting to.
- Security Mode: Set this to match your main router (usually WPA2-Personal).
- Password: Enter the exact same Wi-Fi password as your main network.
Step 6: Change the IP Address and Disable DHCP
This is the most critical step. If you don’t do this, your two routers will fight over assigning IP addresses to your devices, crashing your network.
- Navigate to the LAN or Local Network settings.
- Change the IP Address: Change the old router’s IP address so it is on the same network as your main router, but outside its usual assigning range. For example, if your main router is
192.168.1.1, change the old router to192.168.1.2or192.168.1.250. Write this new number down! - Disable DHCP: Find the DHCP Server setting and switch it to Off or Disable. Your main router will now handle all the traffic direction.
- Save your settings and let the router reboot.
Step 7: Place and Connect
You are almost done!
- For a Wired Access Point (Best Performance): Run a long Ethernet cable from a LAN port on your main router to a LAN port on your old router. Place the old router in your dead zone. You will get full-speed Wi-Fi in that area.
- For a Wireless Repeater (If supported in Step 4): Place the old router halfway between your main router and the dead zone. It needs to be close enough to catch a strong signal from the main router, but far enough to push the signal into the dead zone.
Enjoy Your Upgraded Network
That’s it! Your devices should now seamlessly connect to whichever router gives them the strongest signal as you walk around your house. You’ve successfully eliminated your Wi-Fi dead zones, saved yourself fifty bucks, and kept a perfectly good piece of technology out of a landfill.
